
How a Tattoo Is Done, Step by Step: From Stencil to Bandage
Short answer
How is a tattoo done, step by step?
A professional tattoo follows the same order every time: consultation and consent, a disinfected and barriered station, skin cleaned and shaved, the stencil applied, then lining, shading and color with single-use needles. The artist cleans the finished tattoo, covers it with a film or pad bandage, gives aftercare instructions, and disposes of needles in a sharps container. It is done by a licensed artist.
Key takeaways
- Hygiene comes before ink: surfaces disinfected, touch points barriered, the machine bagged and needles opened in front of the client.
- The stencil sets the design on the skin; lining comes first, then shading, then color, from dark to light or as the style needs.
- Each stage uses a different needle: round liners for lines, magnums and round shaders for shading and color.
- The finished tattoo is cleaned, covered with a film bandage or pad, and the client leaves with aftercare instructions.
- Tattooing requires a license; in Florida every form of tattooing is licensed, through the county health department.
On this page 12 sections
Most people see a tattoo session from the chair: the buzz, the wipe, the bandage. Behind that is a fixed sequence that a professional follows every time, and most of it happens before the needle touches skin. This page walks through a session in order and names the supplies used at each step, for apprentices learning the routine and for clients who want to know what a good studio does. It is published by Miami Tattoo Supplies (MTS), which sells the supplies named, from medical and hygiene supplies to stencil paper.
Tattooing is a licensed profession. In Florida, the Department of Health states that all forms of tattooing require licensure, handled through the county health department, and artists must complete required bloodborne pathogen education. Apprentices perform these steps only under a licensed mentor, and practice on synthetic skin first.
The session at a glance
| Step | What happens | Main supplies |
|---|---|---|
| 1. Consultation | Design, size, placement, consent, ID | Consent form, design files |
| 2. Station setup | Disinfect, barrier, lay out single-use items | Disinfectant, barrier film, machine bag, ink caps, rinse cup |
| 3. Skin prep | Clean, shave, clean again | Green soap, single-use razor |
| 4. Stencil | Transfer the design to the skin | Thermal paper or printer, stencil solution |
| 5. Lining | Outline the design | Round liner cartridges, lining black |
| 6. Shading | Build tone and depth | Magnums, round shaders, grey wash |
| 7. Color | Pack color | Magnums, color inks |
| 8. Final clean | Wipe the finished tattoo | Diluted green soap, paper towel |
| 9. Bandage | Cover the fresh tattoo | Film bandage or absorbent pad and tape |
| 10. Aftercare and teardown | Instructions, disposal, cleaning | Aftercare sheet, sharps container |
Step 1: Consultation and consent
The artist agrees the design, size and placement with the client, checks the skin in that spot, and confirms that the client is eligible to be tattooed: the law restricts tattooing minors, so artists check ID. The client reads and signs a consent and release form and answers health questions the studio uses. Rules on consent and record keeping vary by state, so confirm them with your regulator.
Step 2: Station setup
Every surface the artist will touch is cleaned with an EPA-registered disinfectant and left wet for the contact time on the label. Then the touch points are covered: barrier film on the light, chair controls and power supply, a machine bag or pen cover on the machine, a clip cord sleeve on any cord. Ink caps, a rinse cup, the cartridge and gloves are laid out, and needles stay sealed until the client is seated, so they can see them opened. Our guide to setting up a tattoo station has the full checklist, and the barrier protection guide covers film and bags.
Step 3: Skin prep
The artist washes their hands, puts on fresh gloves, and cleans the area with a green soap solution. Hair is shaved with a single-use razor, even if it is light, because hair drags ink and stencil and harbors bacteria. The skin is cleaned again and left to dry. See what green soap is.
Step 4: Applying the stencil
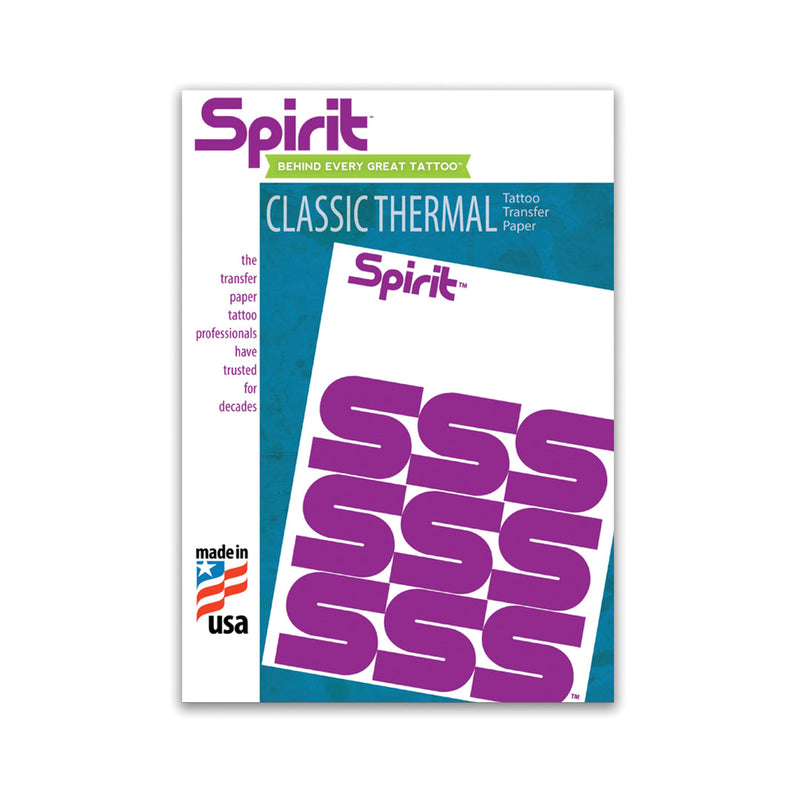
The design is printed or traced onto thermal stencil paper, often with a thermal printer, and transferred to the skin with a thin layer of stencil solution. The artist presses it flat, peels it off slowly, and lets the transfer dry before starting, because a wet stencil smears. The client checks placement in a mirror, and the stencil is redone if needed. The step-by-step method is in how to apply a tattoo stencil; Spirit thermal stencil paper was $19.90 at MTS at the time of writing.
Step 5: Lining
The outline goes in first, with a round liner sized to the line: a 3RL for fine detail, a 7RL to 9RL for bold outlines. The machine is set to a firm hit and the artist works with a thin layer of glide or ointment over the stencil, stretching the skin and pulling each line in one smooth pass. FK Irons describes lining as a controlled, shallower setup than shading. Technique is covered in how to line a tattoo.
Step 6: Shading
Next comes tone. Black and grey work is usually shaded with curved magnums and grey wash dilutions, laid from light to dark; small areas use round shaders, and textured styles use whip or stipple shading with small liners. The machine often runs a little softer and slower than for lining: FK Irons gives 6.5 to 8 V as a baseline for black and grey shading. The techniques are compared in tattoo shading techniques explained.
Step 7: Color
Color is packed with magnums sized to the area, using small overlapping passes until it is solid and even. Artists generally work so that darker colors do not drag into lighter ones, rinsing the needle in the rinse cup between colors or changing cartridges. Each color comes from its own fresh ink cap, poured for this client only and discarded after.
Step 8: Final clean
The artist wipes the finished tattoo gently with diluted green soap and a clean paper towel, removing ink, plasma and stencil residue, and checks the whole piece for gaps.
Step 9: Bandage
The fresh tattoo is covered. Studios use either a breathable adhesive film bandage, often called second skin, or an absorbent pad held with medical tape. Film is applied to clean, dry skin with a margin of healthy skin around the tattoo. How long it stays on is set by the product's label and the artist's instructions. The second skin bandage guide compares them.
Step 10: Aftercare and teardown
The client leaves with written aftercare instructions: how long to keep the bandage on, how to wash, what to apply and what to avoid while it heals. This is general care information, not medical advice; anyone with signs of infection should see a doctor. Our client aftercare instructions can be adapted for a studio handout.
Then the station is broken down. The cartridge goes straight into a sharps container, never recapped. Ink caps, barriers, gloves and towels are discarded, and every surface is disinfected again before the next client.
Watch
Gear mentioned
Products from the Miami Tattoo Supplies catalog, the publisher of this site. Check current price and stock on the store.
Thermal Stencil Paper By Spirit 8.5 X 14
View at Miami Tattoo Supplies: Thermal Stencil Paper By Spirit 8.5 X 14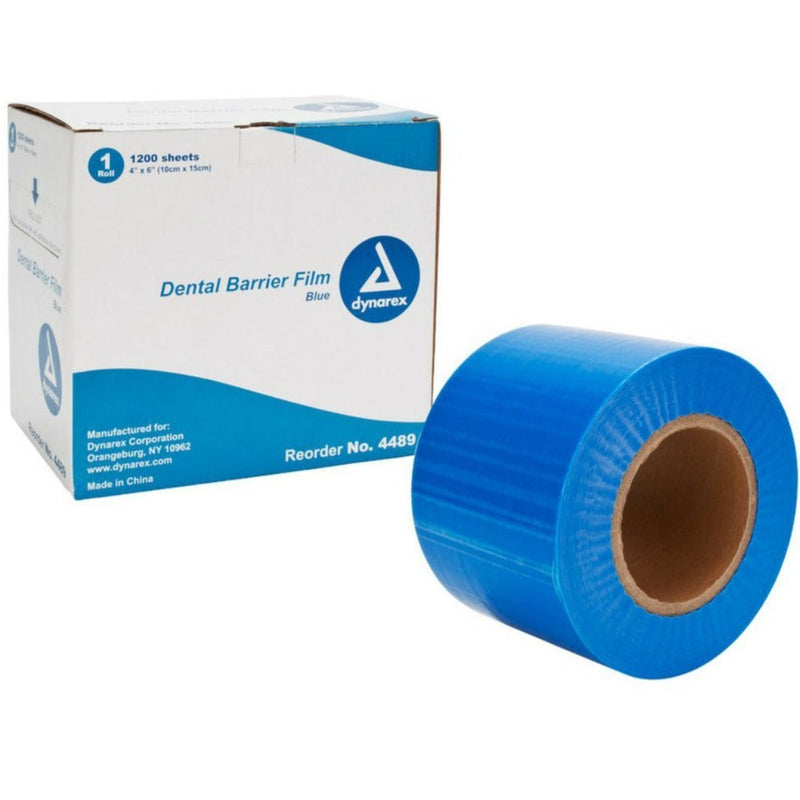
Dynarex
Medical Barrier Film 4 x 6 Roll
View at Miami Tattoo Supplies: Medical Barrier Film 4 x 6 Roll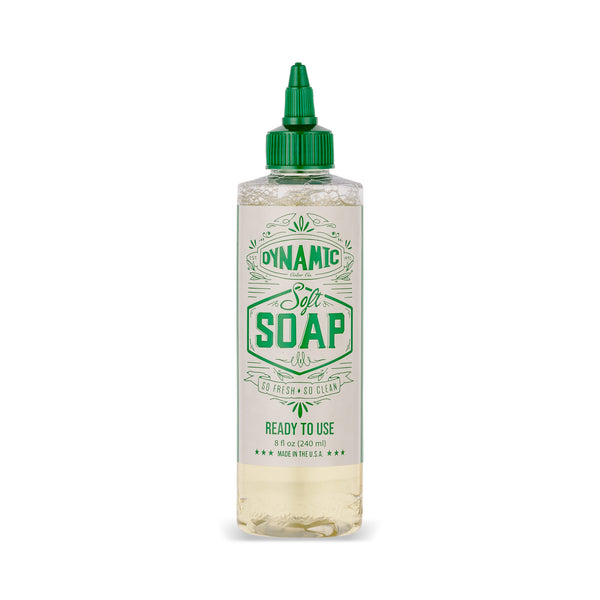
Dynamic Color
Dynamic Soft Green Soap Bottle 8oz
View at Miami Tattoo Supplies: Dynamic Soft Green Soap Bottle 8oz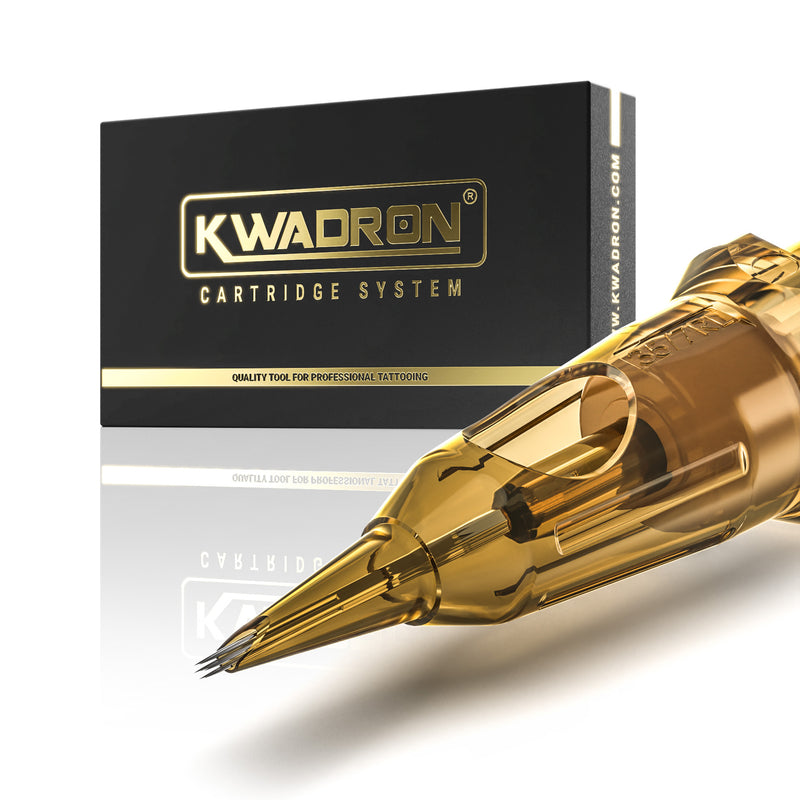
Kwadron
Kwadron Cartridge Needles - Round Liner (RL) Tattoo Cartridges 20pcs
View at Miami Tattoo Supplies: Kwadron Cartridge Needles - Round Liner (RL) Tattoo Cartridges 20pcs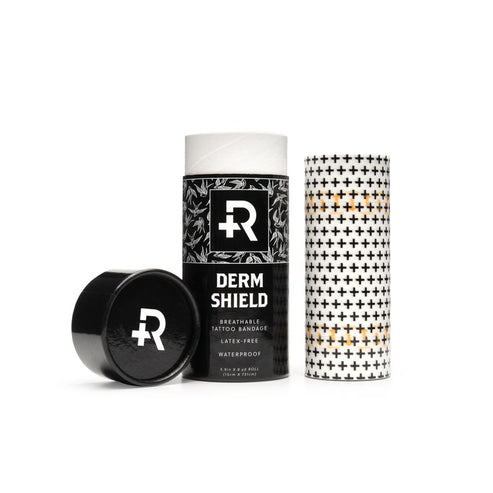
Recovery
Recovery Derm Shield - 5.9" x 8 Yard Roll Clear
View at Miami Tattoo Supplies: Recovery Derm Shield - 5.9" x 8 Yard Roll Clear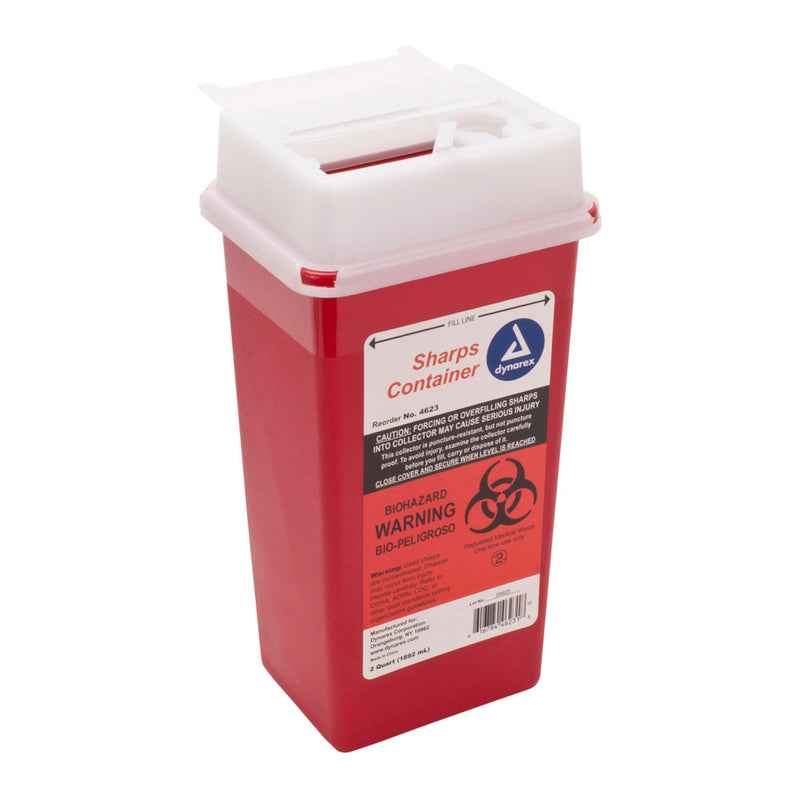
Dynarex
Sharps Bio Hazard Tattoo Container 1 Quart.
View at Miami Tattoo Supplies: Sharps Bio Hazard Tattoo Container 1 Quart.
Frequently asked questions
How long does a tattoo take?
It depends on size, detail and style, and on how much the client can sit. A small, simple design may take under an hour, including setup and stencil; large or detailed pieces are split across several sessions, often weeks apart so the skin can heal. Ask the artist for an estimate at the consultation.
Is the outline or the shading done first?
The outline usually comes first, because it fixes the design while the stencil is still visible. Shading follows, then color. Some soft black and grey styles shade first or use very light lines. The order is the artist's call, based on the design and how long the stencil lasts on that skin.
What is put on a tattoo right after it is done?
The artist cleans it with diluted green soap, then covers it with a bandage: either a breathable film bandage, often called second skin, or an absorbent pad and tape. The client is told how long to leave it on and how to wash and care for the tattoo once it comes off.
Do tattoo artists reuse needles?
No. Professional artists use sterile, single-use needles or cartridges, opened in front of the client and disposed of in a sharps container after the session. Ink caps, gloves, barriers and stencils are single-use too. If you do not see the needle opened, ask.
Can you learn to tattoo by following these steps at home?
No. These steps describe a licensed studio routine, and the skills behind them, depth, hand speed and hygiene, are learned through an apprenticeship under a licensed artist. Tattooing people requires a license and bloodborne pathogen training. Practice on synthetic skin, and see our guide to starting tattooing safely.