
How to Apply a Tattoo Stencil That Stays Put
Short answer
How do you apply a tattoo stencil?
To apply a tattoo stencil, shave the area with a single-use razor, cleanse it with an antiseptic and let it dry, then spread a thin, even layer of stencil solution from a single-client portion. Lay the stencil from the center outwards, press firmly without sliding, and peel it off slowly. Let the transfer dry for the time the product label recommends before tattooing.
Key takeaways
- Most stencil failures come from oily skin, too much solution, or tattooing before the transfer has dried.
- Use a thin, even coat of stencil solution; a thick layer smears the lines instead of holding them.
- Press the stencil down with flat pressure and never slide it once it touches the skin.
- Florida's tattooing rule requires a single-use, clean stencil and stencil product dispensed as a single customer dose.
On this page 9 sections
A stencil that smears halfway through the outline costs you time and accuracy, and a stencil that will not transfer at all costs you the client's patience. Almost every stencil problem traces back to three things: the skin was not prepared, there was too much solution, or the tattoo started before the transfer had dried.
This guide is published by Miami Tattoo Supplies, a tattoo supply store in Hollywood, Florida. If you are learning, practice every step below on synthetic practice skin before you ever do it on a client.
What you need
Have everything on the tray before you start, so you are not reaching outside your clean zone mid-application.
- a printed or hand-drawn stencil on thermal or freehand transfer paper, trimmed close to the design;
- a single-use razor;
- an antiseptic skin cleanser and single-use paper towels;
- stencil solution, dispensed as a single-client portion;
- a skin marker for touch-ups;
- a stencil remover in case you need to reposition.
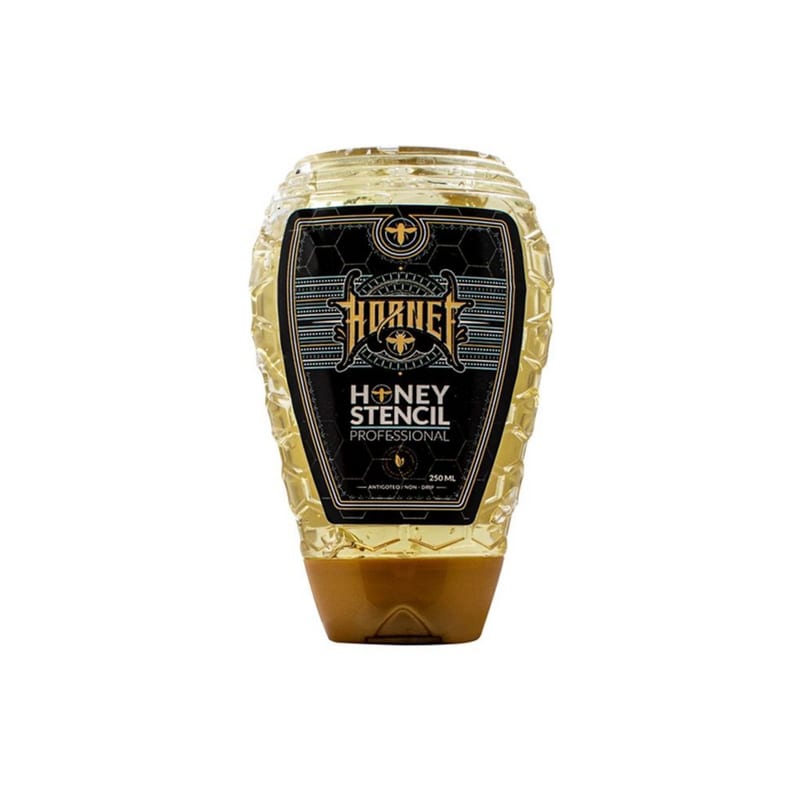
At the time of writing (November 2026), Miami Tattoo Supplies lists Proton Tattoo Stencil Gel at $16, Dynamic Stencil Solution Magic 8oz at $18.99 and Hornet Honey Stencil at $26.99. How the paper and printer side works is covered in our guide to tattoo stencil supplies.
Step 1: Prepare the stencil
Make the stencil before you prep the skin. If you are using thermal paper, remove the protective tissue layer before printing, as the box instructions describe, and check that every line came through. Trim the stencil close to the design so excess paper does not crease or catch, and mark the top so you never place it upside down.
Step 2: Shave and cleanse the skin
Skin prep decides whether the stencil holds. Shave the area with a single-use razor, even if the hair looks fine: hair lifts the stencil and traps solution.
Then cleanse the skin with an antiseptic, following its label, using a single-use paper towel. Florida's tattooing rule (Chapter 64E-28) requires the area to be cleansed with a solution labeled as an antiseptic, and if you shave after cleansing, to cleanse again. Let the skin dry. Many stencil failures come from lotion, sunscreen or natural oil left on the skin, so do not skip this.
Step 3: Apply a thin coat of stencil solution
Apply stencil solution in a thin, even layer over an area slightly larger than the design. Dispense it from the bottle or tube onto a clean single-use towel or gloved fingertip as a single portion, never by putting anything back into the container. Florida's rule requires the stencil product to be packaged as a single dose or dispensed as a single customer dose.
Too much product is the most common mistake. A thick layer stays wet, the purple transfer floats in it, and the lines blur when you peel. Follow the product's directions for how long to wait before placing the stencil; most are applied when the layer is tacky rather than wet.
Step 4: Place, press and peel
Place the stencil in one go, starting at the center and working outwards. Once it touches the skin, do not slide it.
- Position the client in the posture the tattoo will be seen in, usually standing or with the limb relaxed, because skin shifts when a limb bends.
- Lay the center of the stencil down first, then smooth outwards with flat, firm pressure.
- Press over every line for a few seconds without rubbing sideways.
- Peel the paper off slowly from one edge.
Check the placement with the client in a mirror before you go further. If it is wrong, remove it completely with a stencil remover, cleanse again, and repeat; do not try to stencil over a smudged transfer.
Step 5: Let it dry before tattooing
Drying is the step most beginners rush. Give the transfer the drying time on the product label before you put glide on it or start lining. When you do start, use a thin layer of ointment and wipe gently, dabbing rather than dragging, and avoid soaking the area with a heavy spray of green soap during the outline. Our guide to green soap covers how artists dilute and use it.
Troubleshooting
| Problem | Likely cause | Fix |
|---|---|---|
| Lines blurred on peel | Too much solution, or stencil slid | Thinner coat; press, do not rub |
| Faint or patchy transfer | Skin oily or solution dried out | Re-cleanse; apply at the tacky stage |
| Wipes off in minutes | Tattooing before it dried | Wait the full label drying time |
| Distorted design | Client posture changed | Place with the limb in its natural position |
| Patchy in places | Hair or uneven pressure | Shave; press evenly over every line |
The beginner versions of these mistakes are covered in common beginner tattooing mistakes.
Practice on synthetic skin
Stencil application is easy to practice: put a stencil on every practice sheet you use. Synthetic skin is not oily like a person's, so it forgives poor prep, but it still teaches the right amount of solution and the press-and-peel motion. Our guide to the best tattoo practice skin covers which sheets work best. When you are restocking, the stencil supplies collection at Miami Tattoo Supplies has primers, papers and removers.
Watch
Gear mentioned
Products from the Miami Tattoo Supplies catalog, the publisher of this site. Check current price and stock on the store.
Hornet
Hornet Honey Stencil - 8.5oz (250ml)
View at Miami Tattoo Supplies: Hornet Honey Stencil - 8.5oz (250ml)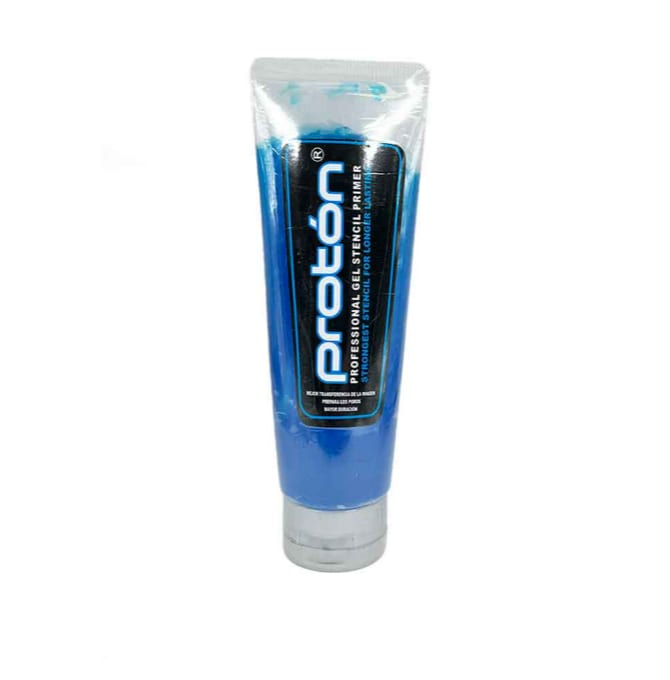
Proton
Proton Tattoo Stencil Gel - 4.3oz Tube
View at Miami Tattoo Supplies: Proton Tattoo Stencil Gel - 4.3oz Tube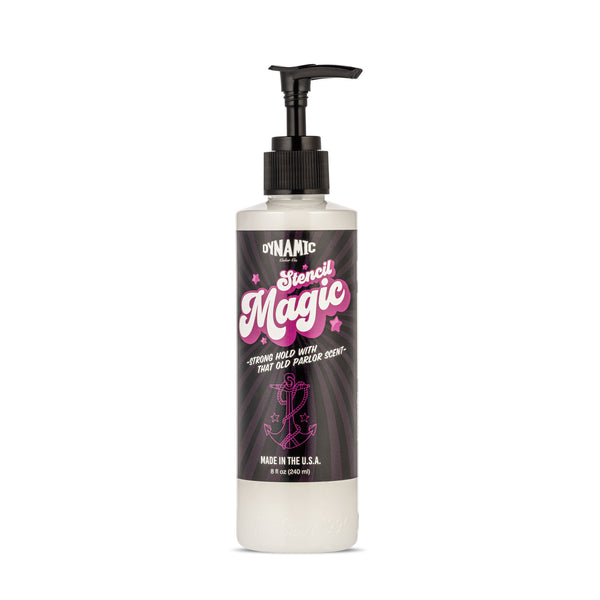
Dynamic Color
Dynamic Stencil Solution Magic 8oz
View at Miami Tattoo Supplies: Dynamic Stencil Solution Magic 8oz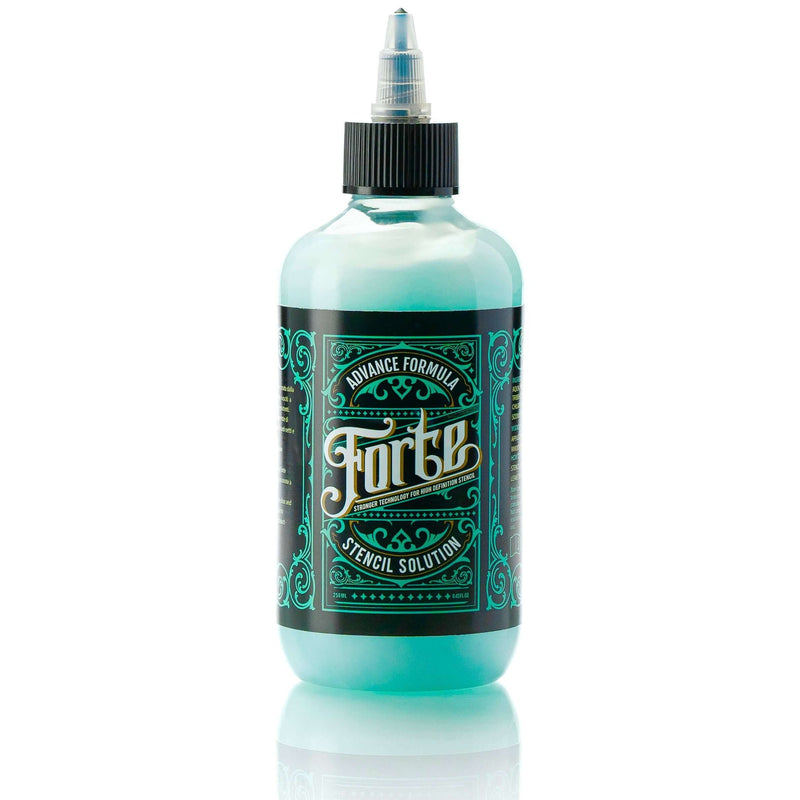
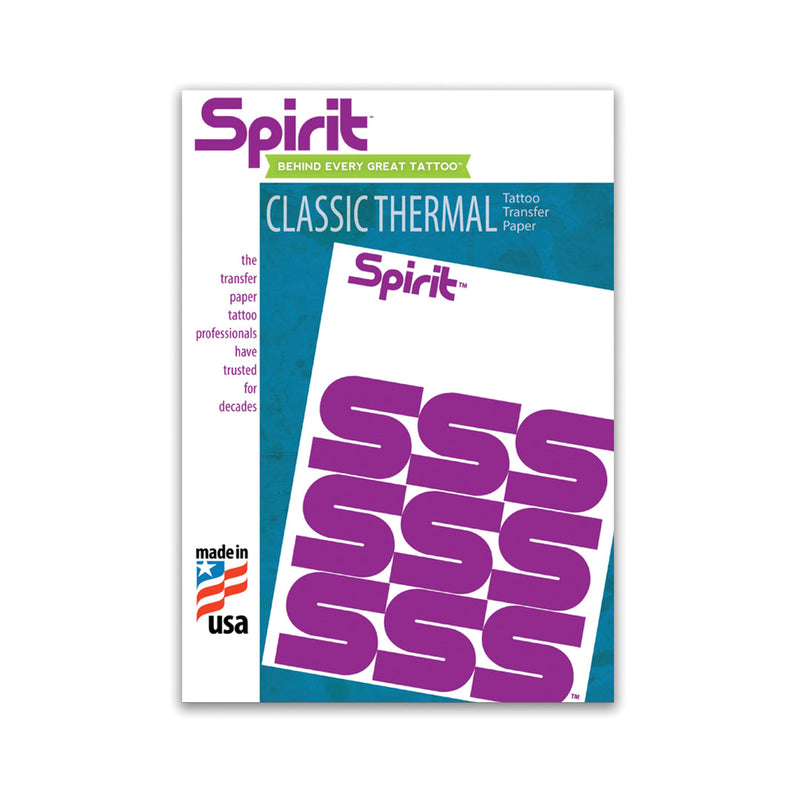
Thermal Stencil Paper By Spirit 8.5 X 14
View at Miami Tattoo Supplies: Thermal Stencil Paper By Spirit 8.5 X 14
Frequently asked questions
Why does my tattoo stencil keep smearing?
Usually too much stencil solution, sliding the paper during placement, or starting before the transfer has dried. Apply a thin, even coat, press the stencil straight down without moving it, peel slowly, and wait the full drying time on the product label before applying glide.
How long should a tattoo stencil dry before tattooing?
Follow the drying time on your stencil product's label, because formulas differ. The transfer should be dry to the touch and not smudge when lightly dabbed. Starting too early is the most common reason a stencil disappears during the outline.
Can I use deodorant instead of stencil solution?
Some artists did in the past, but purpose-made stencil solutions are designed for skin and for holding a transfer through a session, and they are inexpensive. Florida's rule also requires the stencil product to be dispensed as a single customer dose, which is easier with a dedicated product.
How do I remove a stencil if it is in the wrong place?
Wipe it off with a stencil remover or as the remover's label directs, then cleanse the skin again with antiseptic and let it dry before reapplying solution and a new stencil. Do not apply a new stencil over the remains of the old one.
Can I reuse a tattoo stencil?
No. A stencil touches the client's skin and becomes contaminated. Florida's tattooing rule requires a single-use, clean stencil, and it is standard practice elsewhere too: print or trace a new one for each placement attempt and each client.